![]() Page is locked
Page is locked
Table of Contents
Installing SimSigWindows (all versions)
Installing SimSig
System Files
Installing simulations
Adding User-contributed Timetables
Uninstalling SimSig
Troubleshooting
Mac OSX
Linux
Installing SimSig
Windows (all versions)
Installing SimSig
| SimSig offically supports Windows 10 and Windows 11. Older versions of Windows are no longer supported, please see this article for more information. |
System Files
If you've not used SimSig before, you'll need to download the (system files ). This contains:
- Files needed to run SimSig- mainly the fonts containing the specialist symbols.
- The
SimSig Loader , which is used to run SimSig simulations.
These must be installed in order for simulations to work correctly.
On starting the installer, you will see the following screen:
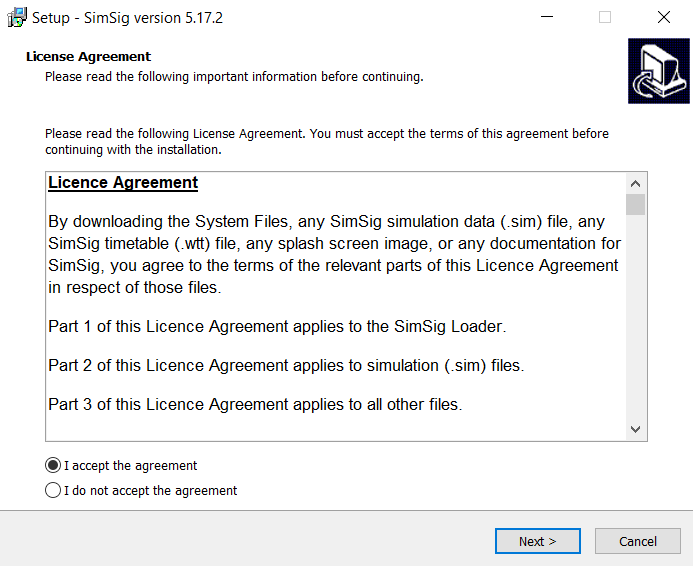
If you agree to the License Agreement, select 'I accept' and click next to continue. If you do not agree, click 'cancel' to abandon the installation.
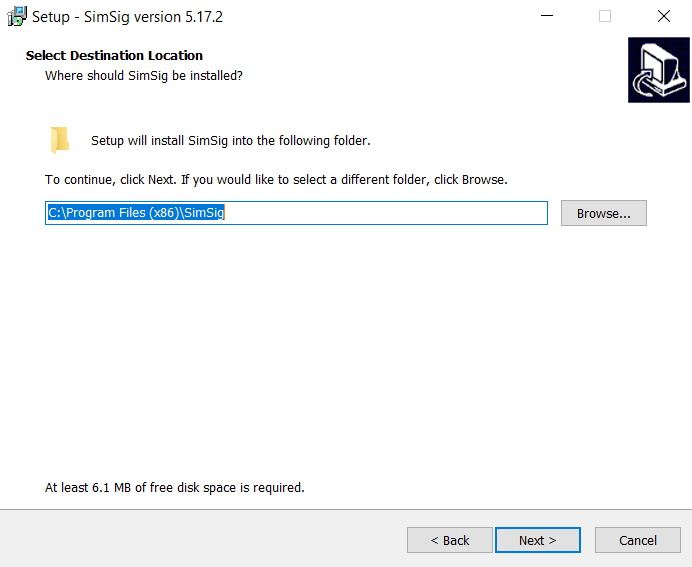
Select a location for the shortcut folder. Click 'next' to continue.
It is strongly recommended to accept the default location. While SimSig can be installed to another location, additional settings may need to be changed later to get the installation to work.
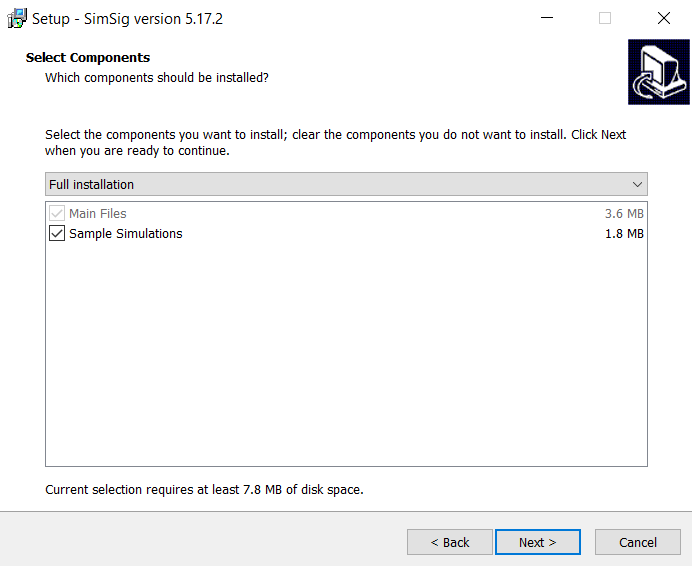
You can optionally install sample simulations at the same time as the main install. It is recommended to install these, as in any case simulations will be installed when you run the updater.
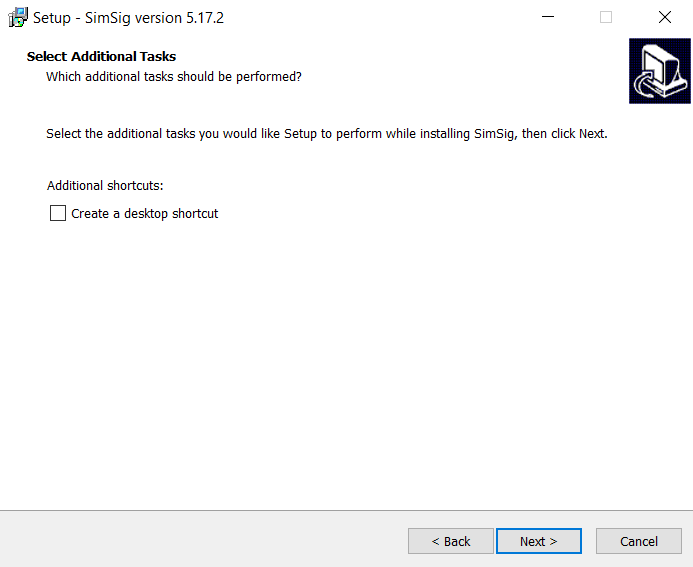
You can optionally add a desktop shortcut for the Loader. Click next to continue.
You will then be shown a summary of the installation. Click 'Install' to begin the installation
After installation, click 'Finish', optionally starting the Loader at the same time.
Start the SimSig Loader, and follow the instructions below to install simulations.
Installing simulations
Start the SimSig Loader, and click 'Check for Updates'. This will:
- Install any new simulations and official timetables (when run for the first time, this will install SimSig's full catalogue of simulations).
- Install any updates for the Loader
- Install any updates for simulations and timetables already installed.
Once you've checked for updates, you can start a simulation !
Adding User-contributed Timetables
Please note: SimSig does not run any 'quality control' checks on submitted timetables beyond checking that they install and load correctly. Any questions/comments/issues can be raised on the forum for the TT writer's attention, but it is up to the individual TT writer if they do respond or not.
To install user-contributed timetables, start the Loader and click the 'User Contributed' button. A list of simulations will open; click the '+' symbol next to the simulation you want a timetable for, and select a timetable from those listed. A brief description will be shown, along with any reviews the timetable has. Once selected, click 'Download selected content', and the timetable will be installed and can be selected in the usual way when you start a simulation .
Timetables can also be found here . Timetables can be written by anyone, and can be real or fictional. The only requirements are that the uploaded zip file follows the naming convention, and that the description is an honest reflection of the timetable's contents. See this page for details on writing timetables.
Download the .zip file. If you used the default location, copy the .WTT and (if included) .WTR files to the following location: C:\Users\Public\Documents\SimSig\Timetables\<simulation name>\ If you installed to a non-default location, please see the SimSig Loader page for details on custom installations.
Uninstalling SimSig
To uninstall the SimSig installation, click 'Start', 'Control Panel', 'Uninstall a program'. Highlight the program named "SimSig V[version number] on the list, right click and select 'Uninstall'. Click 'yes' when asked to confirm, and the entire SimSig installation will be removed from your computer.
Troubleshooting
The following installation issues have been encountered by some users:
- Due to SimSig's somewhat niche appeal, Windows Defender and some antivirus programs may attempt to block the SimSig installer. Please see this page for further details:
- Following installation, an error message can be received stating that SimSig is not installed. This is likely due to a font not being installed. Please see this page for instructions to fix this error:
- Windows 10S and Windows 11S (branded as Secure variants of Windows 10/11) do not generally permit installing applications which aren't from the Microsoft App Store. Users with Windows 10S and Windows 11S are directed to this page from Microsoft Support, detailing their options:
Mac OSX
| While users have successfully installed SimSig on Mac OSX, it is not officially supported by SimSig. |
There is a way to run SimSig directly in Mac OS X without a windows installation on your Mac by using compatibility layer software. Use a search to find a suitable solution. Install the solution given by the search engine results,
go to the download page (System Files ) and download the SimSig System files. These must be installed in order for the Sim to work correctly. It only needs to be installed once.
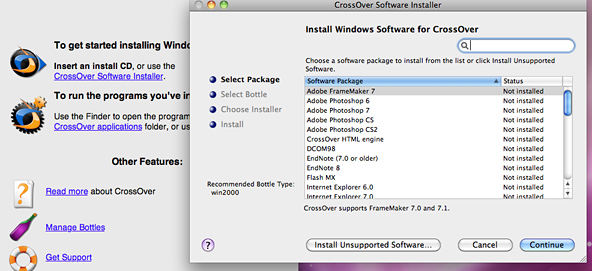
Fire up Crossover, select the "Insert an install CD" option and select "install unsupported software".
Go to "other existing bottle" and press continue.

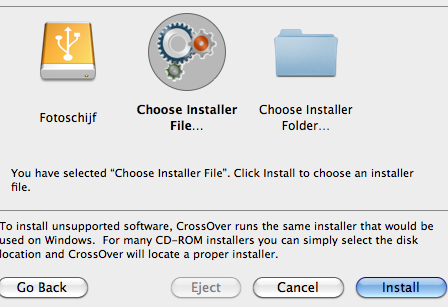
Select "Choose installer file" and browse to the SimSig installer files you just downloaded.
Now the .exe file will be fired up in OS X.
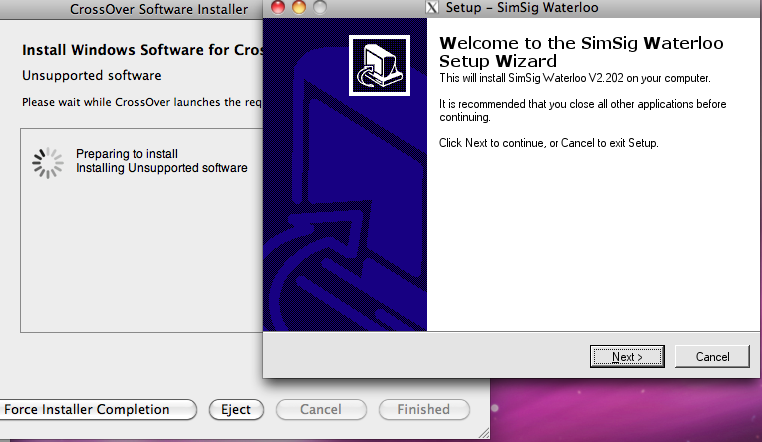
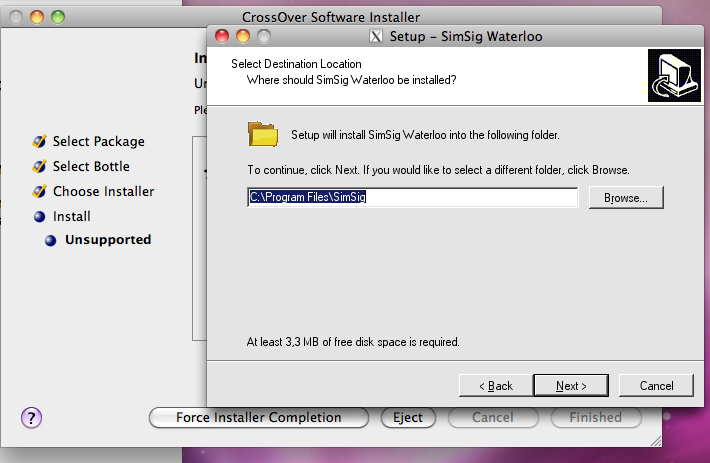
Follow the installer instructions, and install it to C:\program files\SimSig.
Don't question it... just do it.
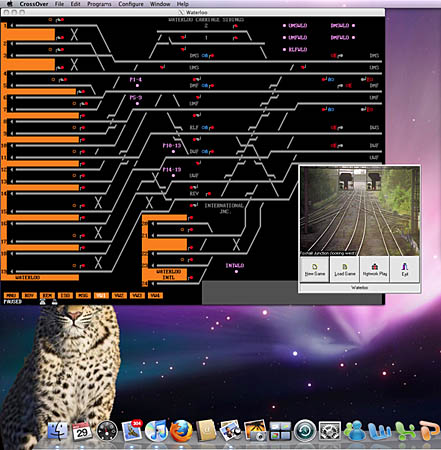
Well done... you can now fire up SimSig directly in OS X.
You can also use a free compatibility layer named Wine. As it is made for Linux, it is a bit harder to install. Look at http://www.winehq.org/ to download (download the source) and http://wiki.winehq.org/MacOSX/Installing to install.
A DMG file is in beta on the install page. It may not work yet.
Linux
| While users have successfully installed SimSig on Linux, it is not officially supported by SimSig. |
Wine
Running SimSig on Linux is possible using Wine. It's proved to run on Fedora, Mint and Ubuntu. Even the old (Didcot paged, Liverpool Street, Stafford, Swindon paged) installers run fine on 64-bit systems. On Mint (Gnome version) there are some problems running SimSig out of the menu, you can use desktop shortcuts instead, or use the Gnome menu instead of Mint's one.
Wine can be downloaded at http://www.winehq.org . With that, you can install everything as you would do using Windows (see above). It is, however, preferred to install Wine from your distro's repository. When joining an Edinburgh multiplayer game with Wine 1.3.9, SimSig will lock up shortly after loading if ARS or ACI is on. With Wine 1.3.28 Bristol, maybe other sims as well, fail to install.
Wine's stable 1.2 versions usually work well. Wine needs to be built with libxml2 support.
Registry fix
When the tracks look like rows of letters, you need a registry file for Wine. Download (from Downloads/Uploads on the left) and unzip it. Open Regedit (menu → Wine → Regedit or $ wine regedit), click Registry file → Import registry file. Browse to the downloaded file and open it. Nothing seems to happen, but the tracks look OK.
Paged sims
Sometimes you need to hide the panel, or turn of Compiz desktop effects, before starting a paged sim. Else you might get the panel displayed on top of the message box, causing the latest message to be unreadable.
Downgrading Compiz on Ubuntu 11.04 (running without Unity) or Mint 11 might also help: http://www.webupd8.org/2011/05/how-to-downgrade-to-compiz-086-in.html
KWin (KDE's desktop effects) can cause a flickering screen on paged sims, and to a lesser extent scrolly sims on slower computers. The only work-around is to turn off KWin.
Timetables
The timetables of trains look like a mess, this can be fixed by using Winetricks to install the Microsoft core fonts.
In terminal, execute:
$ wget http://winetricks.org/winetricks to download it (recommended to do this in the ~ folder as you don't need cd then to use Winetricks a next time)
(Ubuntu users might already have Winetricks downloaded)
$ sh winetricks corefonts
Now the installers for some Windows-specific fonts will be run, after that your timetables look OK. Do not copy these fonts from Windows; Windows versions of these font files may look very strange on Linux.
Some Linux distros have a ttf-mscorefonts package in the repository which can also be used.
Telephone calls
For the telephone calls to be readable, you need to install the MS corefonts as described above. You might also have to change the font size. This can be done via main menu → Wine → Configuration → Graphics tab. Just try which 'dpi' value (at the bottom right) is good for you. 96 is the default value which should be OK for most sims and people; it's also the default value of Windows.
XML timetables
If XML .wtt timetables are not appearing in the list for the relevant simulation when attempting to start it, first check that you have installed the timetable to the correct folder and that you have set up the loader to look in the correct folders by opening the Folder Options on the loader’s intro screen. If these are correctly set, then you may need to install msxml3. This can be done with:
$ winetricks msxml3
or via PlayOnLinux’s configuration menu (if using PlayOnLinux). (See Saving timetables under WINE topic on the forum.)
XML train list (F2)
If, when opening the Train List (F2) window, you receive a “Can't find <body> element” error, then you may need to install Internet Explorer 8 into your wine prefix. This can be done with:
$ winetricks ie8
or via PlayOnLinux’s configuration menu (if using PlayOnLinux). Alternatively, you can revert to the Legacy Train List in the Display tab of the Options (F3) window. (See Train list broken in wine topic on the forum.)
Notes
- Don't use ‘show all windows on taskbar’. Windows will hide behind the main view if you check this option.
- If you accidentally hide a dialogue box behind the main window and you cannot reach its titlebar to return it to the foreground, it will look like the simulation has crashed. Do not panic – you can bring it to the foreground again by pressing Alt+<spacebar> and clicking Always On Top from the menu that appears.
Last edited by Steamer on 07/11/2023 at 18:07